Showing posts with label Sasayaki Glitter images. Show all posts

Friday, 20 July 2018

Just "hangin' around"

Sponsored by
*not officially my turn, but wanted to work with this image*

* using "Hanging Around"*
Desperate to get some "scrapping" done I knew
as soon as I saw this sweet image from Sasayaki
that it would make the perfect page. That's the beauty of
digi images, you can print them any size required.
I started by printing it out on an A4 paper...
and made a colour swatch with my ProMarkers.
I also printed out an A4 sheet of tiny images to use
as backing paper/borders.
Each time I added a colour to the main image
I did the same to the border strip...
then fussy cut the main image.
I have a collection of Papermania Festive Fauna papers,
which includes this Silver Birch bark piece.
I over-stamped using a mixture of tree stamps, before gluing 
mesh ribbon/strip border and main image directly onto the page.
*close up*
I already knew which photos of my boys I was going
to use...
cropped them and matted them with other papers from 
the same collection...
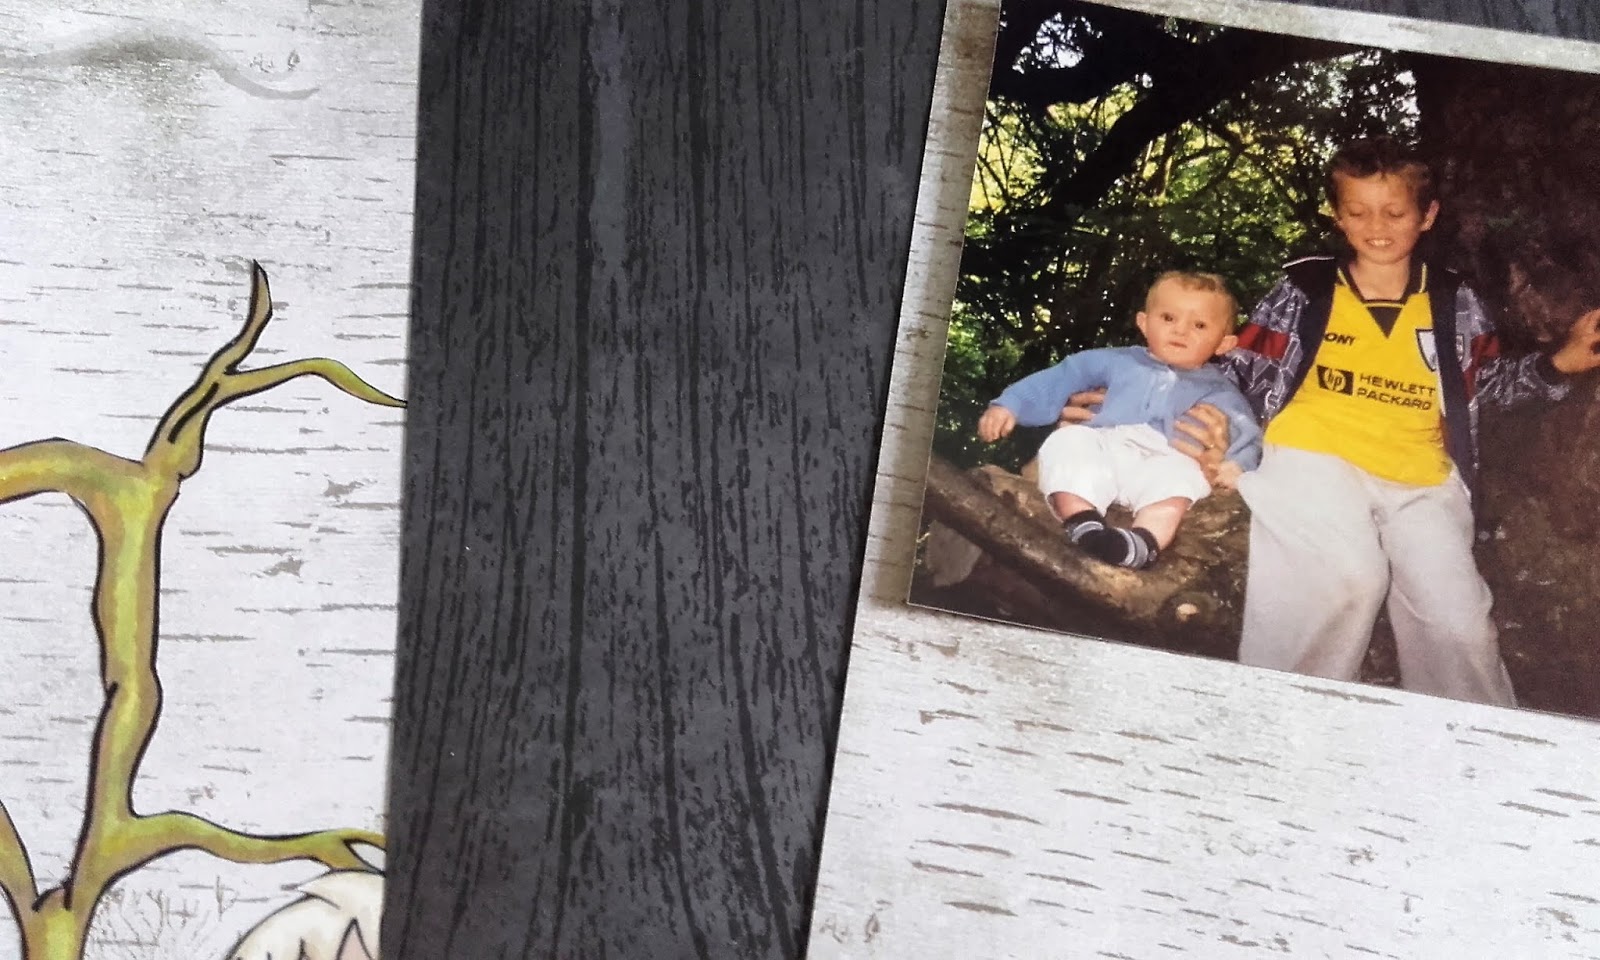
and added touch of distress ink to soften the edges of the 
page before edging with a dark grey marker.
Finally I used the board alphabet stickers that came with the 
papers to add a title :D
Remember, Digi images are not just for card making :D
Enjoy XXX

Sharing with the following challenges;

Monday, 9 October 2017

Boys just want to have fun...

Welcome to the new challenge at 
sponsored by 

Being a DT member gives me the opportunity to visit blogs
 I may never have seen before, and be continually reminded
about techniques I've used but forgotten about.
This week I am revisiting "Paper piecing"

Using my serif Craft Artist 2 programme(though I guess you can do this
 in any graphics programme)
I cropped and over-layed parts of the image onto digi papers,
printing them all out onto 1 piece of card.

This is a technique I had only every done with stamped images
before so was pleased with how easy it was.

 The base card is covered with papers from my stash,
and the rest of the image is coloured with Promarkers.
 I'd included a "wordy" background paper when printing off my image
and I cut this down into smaller pieces to use as a sentiment.
Loving the final effect :D
Enjoy XXX

I would like to enter this card for the following challenges;


Monday, 15 May 2017

Flight of fancy...

sponsored by


For this card I knew exactly what I was going to do.
This image goes so well with the butterfly
 backing paper I made a few weeks ago.
 I coloured her with Promarkers *as usual*
cut her out and glued her to the background.
 All gardens need flowers to encourage the butterflies
so I die cut a Panorama Grass border (Tattered Lace) and
coloured that too.
 Then a thin mat of black , a ruffled lace trim
and 3 die cut butterflies to add even more dimension.
Finally a few gemstone accents..
When it comes to communing with Nature
Patience is it's own reward :D

Entering for the following challenges;

Enjoy :D XXX


Sunday, 22 January 2017

Shelter Yourself

It's time for
over at 
and our sponsor is once again the fabulous


I wanted to get away from card making again
as we often forget to use digi images in other kinds of project.
This is a clearance item...mdf 11 and a half inch square panel
(one of my 25p per item haul)
 I keyed the surface with sandpaper before gluing a sheet of 12x12 
scrapbook paper on to it.
 I just Luuuuurve the Birch tree papers...
 I tore strips with trees on to use as....trees lol
The image I received from or sponsor is
and the beauty of digi images is that 
you can print them as big as you need :D
 I coloured her with promarkers 
and tore her (and the butterflies) out.
 She looked like she was floating, so I used 
mesh ribbon to create a horizontal stripe to ground her.
I added  another stripe of blue mesh
 and grey lace to the top edge for balance.
 She still looked a bit "floaty" so I coloured a few 
paper flowers for her to sit amongst.
 When I showed it to my teen...he said the piece reminded him
 of a short animation he had recently seen called "Shelter"
and so the legend was created.
 She does look a little sad even though surrounded by such beauty...
(Watch the video...it's so sad yet so beautiful)

Enjoy :D XXX
Entering the following challenges;
(mdf panels/patterned papers/promarkers)
Crafty Creations # 333 Anything Goes
Addicted to Stamps and More # 225 (inspirational photo/daisy flowers)
Photobucket

Sunday, 11 December 2016

Bags of fun!

This weeks challenge at
is
*yaaaaaayyyyyy nearly here!*
Instead of another card I decided to make a gift bag.
Our sponsor this week is the lovely 
 who gave me permission to use her image
 as a paper pattern.
I printed out the image the size I wanted for the bag front...
 traced the main "snowman" shape onto felt using carbon copy paper...
 then cut out the other main shapes to draw around.
 I kept the main pattern paper together to help
place the fabric pieces as accurately as possible,
and used fabric glue to attach  the fabric shapes.
 Keeping the main pieces meant I could see if everything 
stayed true to the original image.
 Then I just used a basic running stitch to add details and secure the pieces.

 I was really quite pleased with the overall effect
*though I did unpick the scarf and move it across slightly lol*
 The addition of a snowy mound makes him look a bit more stable :D
 though I should probably have ironed the bag before I started :D

Entering the following challenges;

Hope you all have a lovely Christmas/Holiday season
Blessed Yuletide to you all XXX
Photobucket